To use RDP to connect to another Windows PC or server, you’ll first need to enable it on the remote server or PC. Thankfully, configuring Windows to enable Remote Desktop is a fairly straightforward process.
To enable Remote Desktop on Windows PCs:
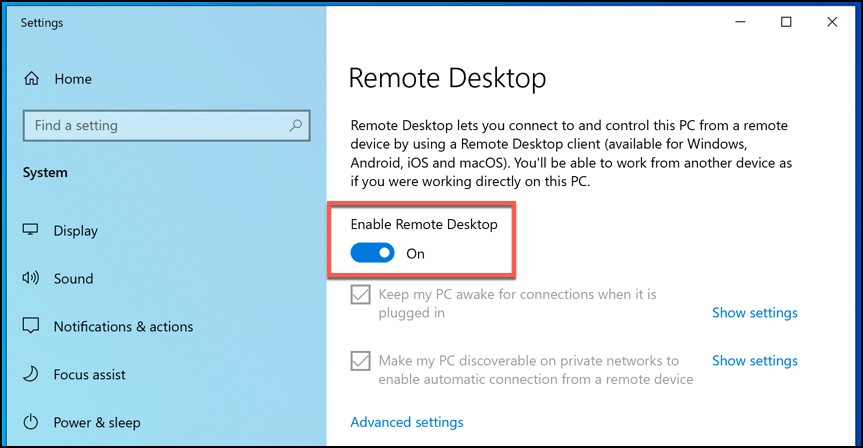
1- Open the Windows Settings menu. To do this, click the Start button, then press the Settings icon. From here, press System > Remote Desktop.
2- Press the Enable Remote Desktop slider to move it to the On position. The slider will turn blue when Remote Desktop has been enabled.
3- By default, the Microsoft account you use to sign in will be the account you use to connect to your PC remotely. To allow additional users to connect, press Select users that can remotely access this PC. In the Remote Desktop Users window, press Add and search for the user account.
4- To allow for RDP connections over the internet, you’ll typically need to allow incoming and outgoing connections to TCP/UDP port 3389 on your network, unless port forwarding is in effect.
